
C++ IOT Development
Sample Lectures
RF Communication (Part 1)
C++ IOT Development
RF Communication (Part 2)
C++ IOT Development
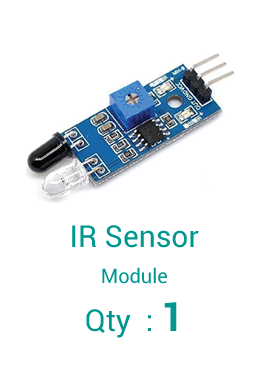
HT/IR/LDR Sensor
C++ IOT Development
Software Component (Part 1)
C++ IOT Development
Software Component (Part 2)
C++ IOT Development
IOT Development


Fee Rs.12000/-
225 Lectures
IOT Development
The fee does not include the IOT Hardware / Kit required
Assignments submitted
Students in ACTION
Mobile App & WiFi Units
WiFi Networking
Smart Heater (Part 1)
Product
Smart Heater (Part 2)
Product
Smart Dustbin
A Product
WiFi Socket
A Product
Command Centre
Java Implementation
Networking
433 MHz T/R Implementation
Networking
Clock Synchronization
Command centre
Python implementation
Clock
Configuration use case
WiFi Networking
Pulling request
WiFi Networking
Appliation prototype
Long / short press
Push button implementation
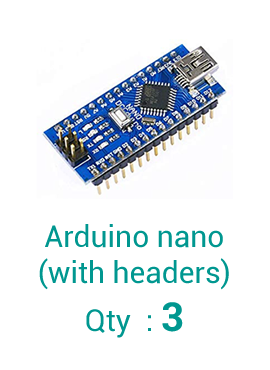
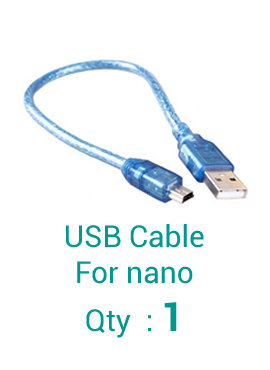
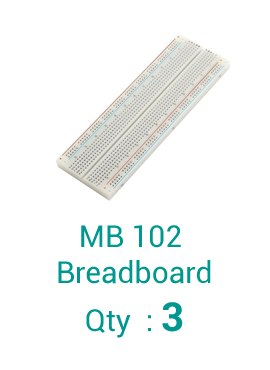
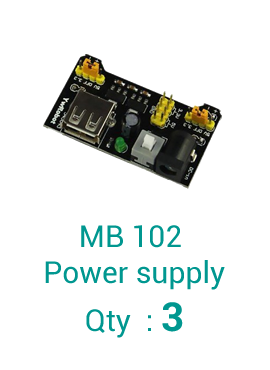
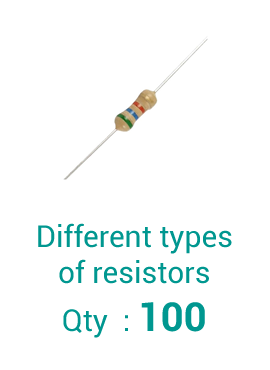
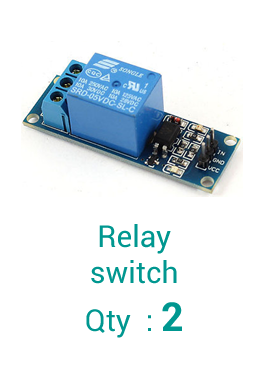
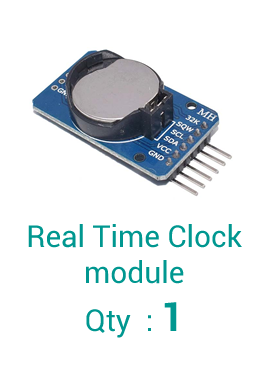
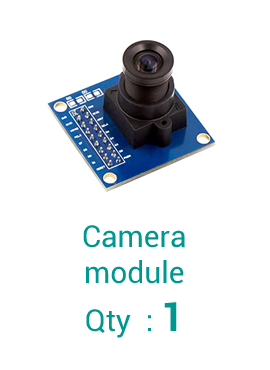
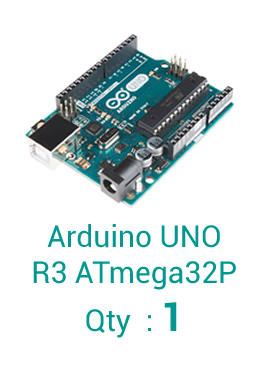
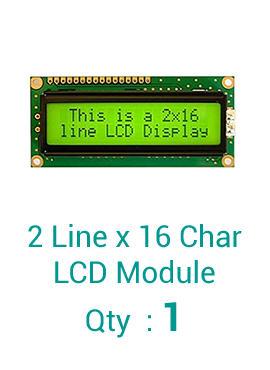
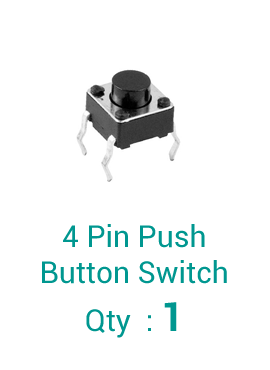
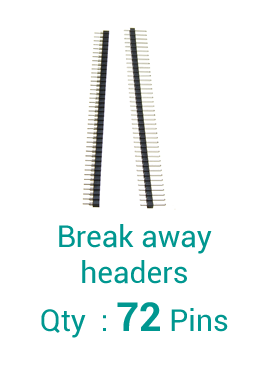
The IOT Kit
26 Items - Not part of course fee


Course Contents
Phase - I (You will have to procure the necessary hardware)
- Setting up Arduino Software (IDE)
- Writing sketch and deploying it on the arduino nano board
- Breadboard basics and setting up the power supply
- All about I/O Pins
- Creating different types of circuits involving use of different sensors / push button / relays
- Setting up communication between 2 Arduino nano's using RF Transmitter / Receiver
- Setting up a network of 3 Arduino nano's using RF Transmitter / Receiver
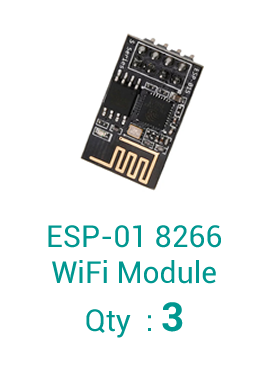
- Configuring and setting up ESP-01 8266 WiFi Module
- Creating a client / server application based on WiFi connectivity
- PC + Arduino Nano + Sensors + Switches (All coming into play to form a connected devices network)
- Developing an IOT Connections framework to simplify application development
- Bringing the UNO into the picture
- A Camera Module based application
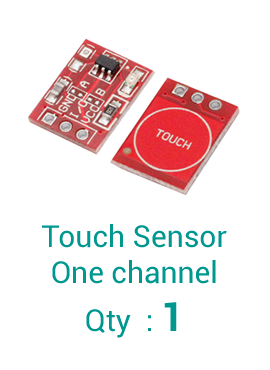
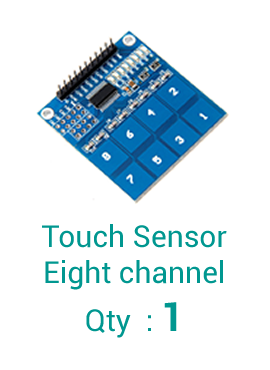
- Touch pad + Display Module + Application that allows the user the configure the modules
- Creating a IOT Command Centre Application
- Feeding data to the internet based web application
- Configuring Raspberry Pi, installing Linux
- Writing applications for Pi in Python 3
- Developing a Mobile Application to give a FACE to the IOT Infrastructure
- One application that involves PC (Java) + Nano (C++) + UNO (C++) + Raspberry Pi(Python 3) + Mobile App (Android) + Web App (J2EE)
Phase - II (You will have to procure the necessary hardware)
- Controlling stepper motors / servo motors
- Using Xbee modules to create a network
- Controlling a Linear Actuator
- Linear Actuator applications
- Controlling Solenoid locks application
Phase - III (You will have to procure the necessary sensors)
- Water level sensors application
- Color sensor application
- Water sensor application
- Speed sensor application
- Heart rate pulse sensor application
- Sound sensor application